
How to Clean a Custom Night Guard: A Step-by-Step Guide
A custom night guard is not only essential for protecting your teeth from grinding and clenching but also helps improve your overall oral health. However, maintaining the cleanliness of your night guard is crucial to avoid any bacterial buildup and bad odor. In this comprehensive guide, we will explain how to clean a custom night guard and provide tips for proper maintenance.
Understanding Your Custom Night Guard
Before diving into the cleaning process, it's essential to understand the materials used in creating your custom night guard and the importance of regular cleaning. By understanding these factors, you can ensure the longevity and effectiveness of your night guard.
Materials Used in Custom Night Guards
Custom night guards are often made from high-quality materials that ensure durability, comfort, and optimal protection. The most common materials used in the manufacturing of custom night guards are acrylic, thermoplastic, and ethylene-vinyl acetate (EVA).
Acrylic is a rigid and durable material that provides excellent protection against teeth grinding and clenching. It is also easy to adjust and maintain, making it a popular choice for night guard materials.
Thermoplastic is a flexible material that can be molded to fit the unique shape of your teeth. It is also comfortable to wear and can absorb pressure from grinding and clenching, making it an excellent option for those who suffer from bruxism.
Ethylene-vinyl acetate (EVA) is a soft and pliable material that provides a comfortable fit for those with sensitive teeth or gums. It is also an excellent shock absorber, making it a popular choice for athletes who wear mouthguards.
Importance of Regular Cleaning
It's essential to clean your night guard regularly to remove the buildup of bacteria, saliva, and food particles that can accumulate over time. This not only helps maintain the guard's efficacy but also prevents any health issues arising from the use of a dirty night guard.
Regular cleaning will also help your night guard maintain its shape and structure, ensuring its longevity. It's recommended to clean your night guard every morning with a soft-bristled toothbrush and mild soap or non-abrasive toothpaste. You can also soak your night guard in a denture cleaner or mouthwash for extra cleaning power.
It's important to avoid using hot water, harsh chemicals, or abrasive toothpaste when cleaning your night guard, as these can damage the material and reduce its effectiveness. Additionally, be sure to store your night guard in a clean, dry place to prevent the buildup of bacteria and other contaminants.
By understanding the materials used in your custom night guard and the importance of regular cleaning, you can ensure that your night guard provides optimal protection and lasts for years to come.
Gathering the Necessary Cleaning Supplies
Before you start cleaning your custom night guard, it's essential to gather all the necessary tools and cleaning agents to ensure an effective cleaning process. Here are some essential supplies you should have on hand:
Mild Soap or Denture Cleaner
Selecting the right cleaning agent is crucial to ensure your night guard remains in pristine condition. A mild, non-abrasive soap or denture cleaner is an excellent choice to rid your night guard of bacteria and debris gently. These cleaning agents are specially formulated to clean dental appliances without causing any damage or discoloration. Avoid using strong chemicals or abrasive agents, as they can damage or scratch your night guard's surface.
Soft-Bristled Toothbrush
Using a soft-bristled toothbrush dedicated to cleaning your night guard is essential. A soft-bristled toothbrush ensures gentle removal of debris, avoiding any damage or scratches to the guard's surface. The bristles should be soft enough to clean the night guard without causing any damage to its surface.
Clean Towel or Paper Towels
After cleaning, you'll need a clean towel or paper towels to thoroughly dry your night guard. A well-dried night guard will prevent bacterial growth and avoid unpleasant odors. Make sure to use a clean towel or paper towel to avoid transferring any bacteria or debris to the night guard.
Optional: Night Guard Cleaning Tablets
Some night guard users prefer using cleaning tablets explicitly designed for dental appliances. These tablets can dissolve in water, offering a safe and easy way to clean your night guard. They are specially formulated to clean dental appliances without causing any damage or discoloration. However, they're not a necessity and can be used as a complementary method to manual cleaning.
It's essential to note that cleaning your night guard regularly is crucial to maintaining good oral hygiene. Neglecting to clean your night guard can lead to the buildup of bacteria, which can cause bad breath, gum disease, and other oral health issues. Therefore, it's recommended to clean your night guard at least once a day to ensure optimal oral health.
In addition to cleaning your night guard, it's also crucial to store it properly. When not in use, keep your night guard in a clean, dry place to prevent bacterial growth. Avoid leaving it in direct sunlight or heat, as this can cause the night guard to warp or discolor.
By following these simple steps, you can ensure that your night guard remains clean and hygienic, promoting optimal oral health.
Step-by-Step Guide to Cleaning Your Custom Night Guard
Now that you understand the importance of cleaning your night guard and have gathered the necessary supplies, it's time to follow these simple steps to efficiently clean and maintain your custom night guard.
Step 1: Rinse with Warm Water
Before cleaning, rinse your night guard under warm water to remove any debris or loose particles. Avoid using hot water, as it can warp or damage the material of your night guard.
It's important to note that using toothpaste to clean your night guard is not recommended, as it can be too abrasive and leave scratches on the surface of the guard. Additionally, avoid using any harsh chemicals, such as bleach or alcohol, as they can also damage the material and affect the fit of your night guard.
Step 2: Apply Mild Soap or Denture Cleaner
Apply a small amount of mild soap or denture cleaner to your soft-bristled toothbrush. Distribute the cleaner evenly on the bristles for a thorough cleaning.
When selecting a cleaning solution for your night guard, it's important to choose one that is specifically designed for oral appliances. These cleaners are gentle enough to use on the delicate material of your night guard, yet effective enough to remove bacteria and odors.
Step 3: Gently Brush the Night Guard
Using the soft-bristled toothbrush, gently brush the entire surface of the night guard, including all grooves and edges. Be careful not to apply too much pressure, as this may cause scratches or damage.
If you notice any stubborn stains or buildup on your night guard, you can soak it in a mixture of water and cleaning solution for a few minutes before brushing. This will help to loosen any debris and make it easier to clean.
Step 4: Rinse Thoroughly
Rinse your night guard thoroughly under warm water to remove all soap or denture cleaner residue. Be sure to inspect it closely, ensuring that no traces of cleaning agents remain.
It's important to rinse your night guard thoroughly to ensure that no cleaning solution is left behind. Any leftover residue can cause irritation or an unpleasant taste in your mouth when you wear your night guard.
Step 5: Dry the Night Guard
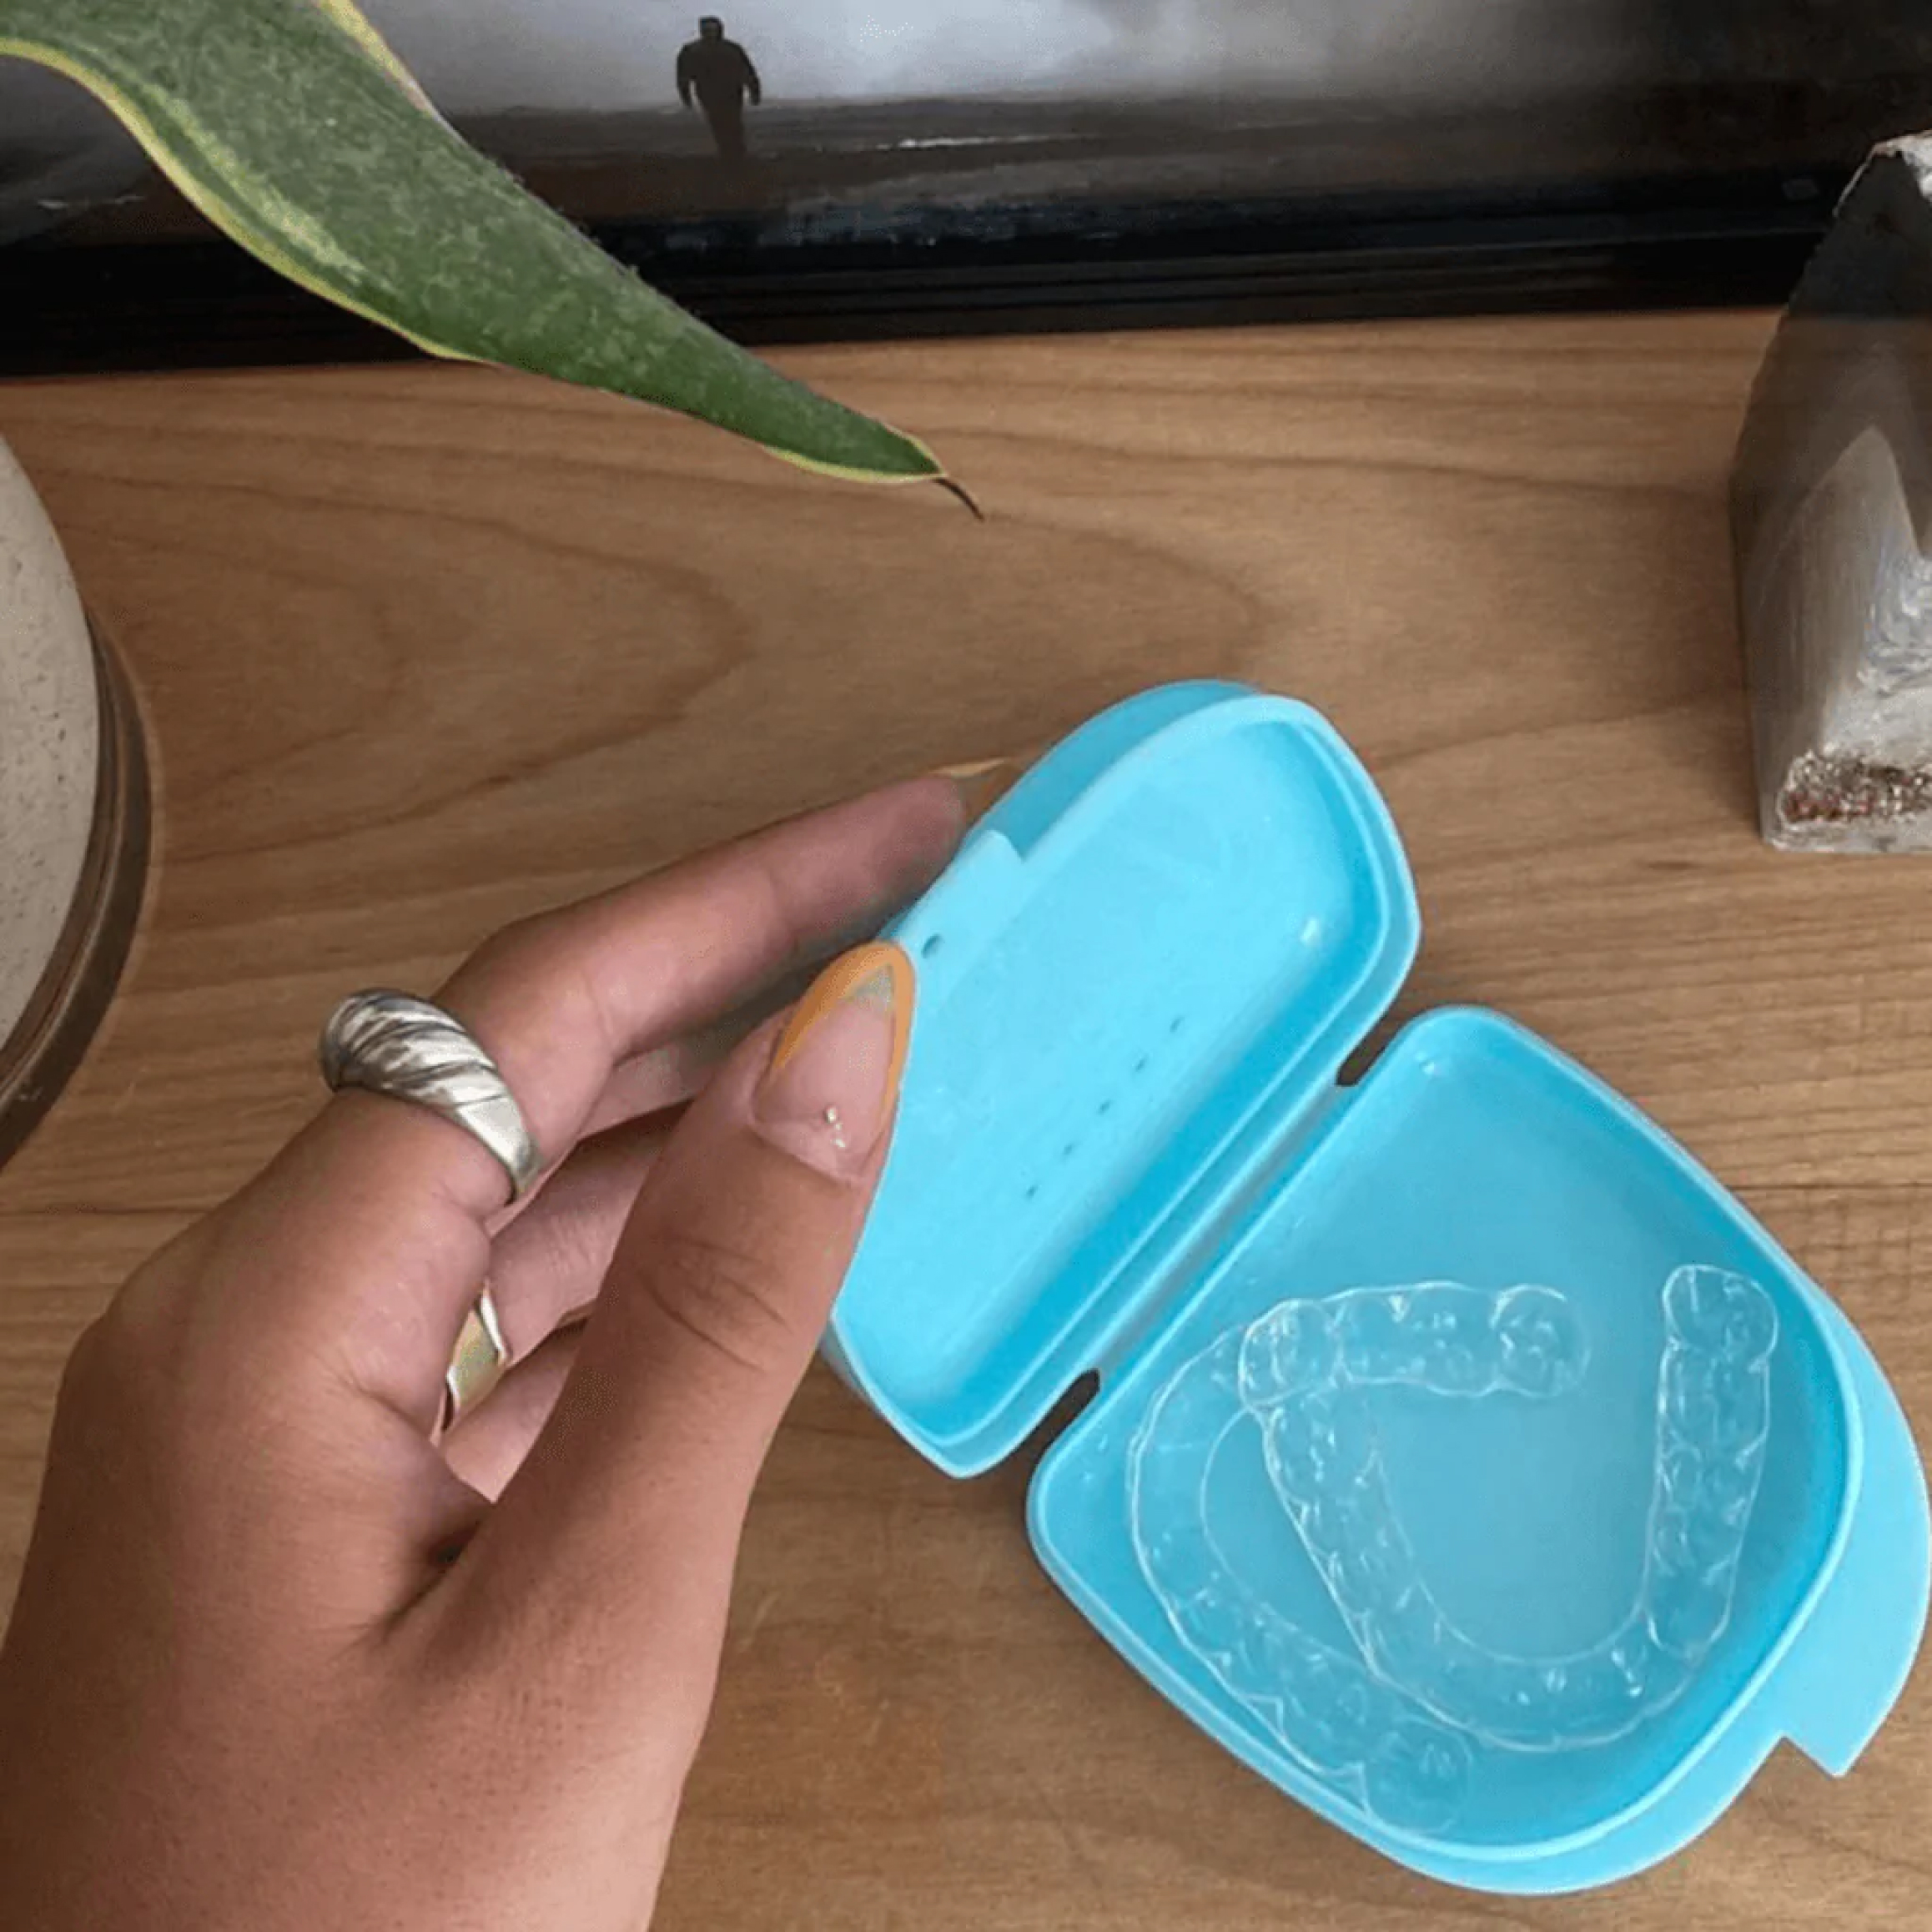
Using a clean towel or paper towels, gently pat your night guard dry. Be thorough in your drying; this prevents bacterial growth and keeps your night guard clean and fresh. Once dry, store your night guard in its case.
It's important to store your night guard in its case when not in use to prevent it from getting lost or damaged. Additionally, storing it in a case helps to protect it from bacteria and other contaminants in the environment.
By following these simple steps, you can ensure that your custom night guard stays clean, fresh, and effective for years to come.
Additional Tips for Maintaining Your Custom Night Guard
Apart from the proper and regular cleaning, following a few additional maintenance tips can help prolong the life of your custom night guard and ensure it remains effective at protecting your teeth.
Storing Your Night Guard Properly
When not in use, store your night guard in a protective case specifically designed for dental appliances. This will safeguard your night guard from dirt, dust, and potential damage while also maintaining its shape.
Regularly Inspecting for Damage
By inspecting your night guard for signs of wear or damage, you can ensure its effectiveness at protecting your teeth. If you notice any significant damage, cracks, or irregularities, consult your dentist to determine if it needs replacement.
Replacing Your Night Guard When Necessary
The lifespan of your custom night guard will depend on various factors, such as the severity of grinding or clenching and the material used. Your dentist will guide you in determining when it's time for a replacement. Regular check-ups with your dentist will help ensure that your night guard remains efficient in protecting your teeth and oral health.